
News
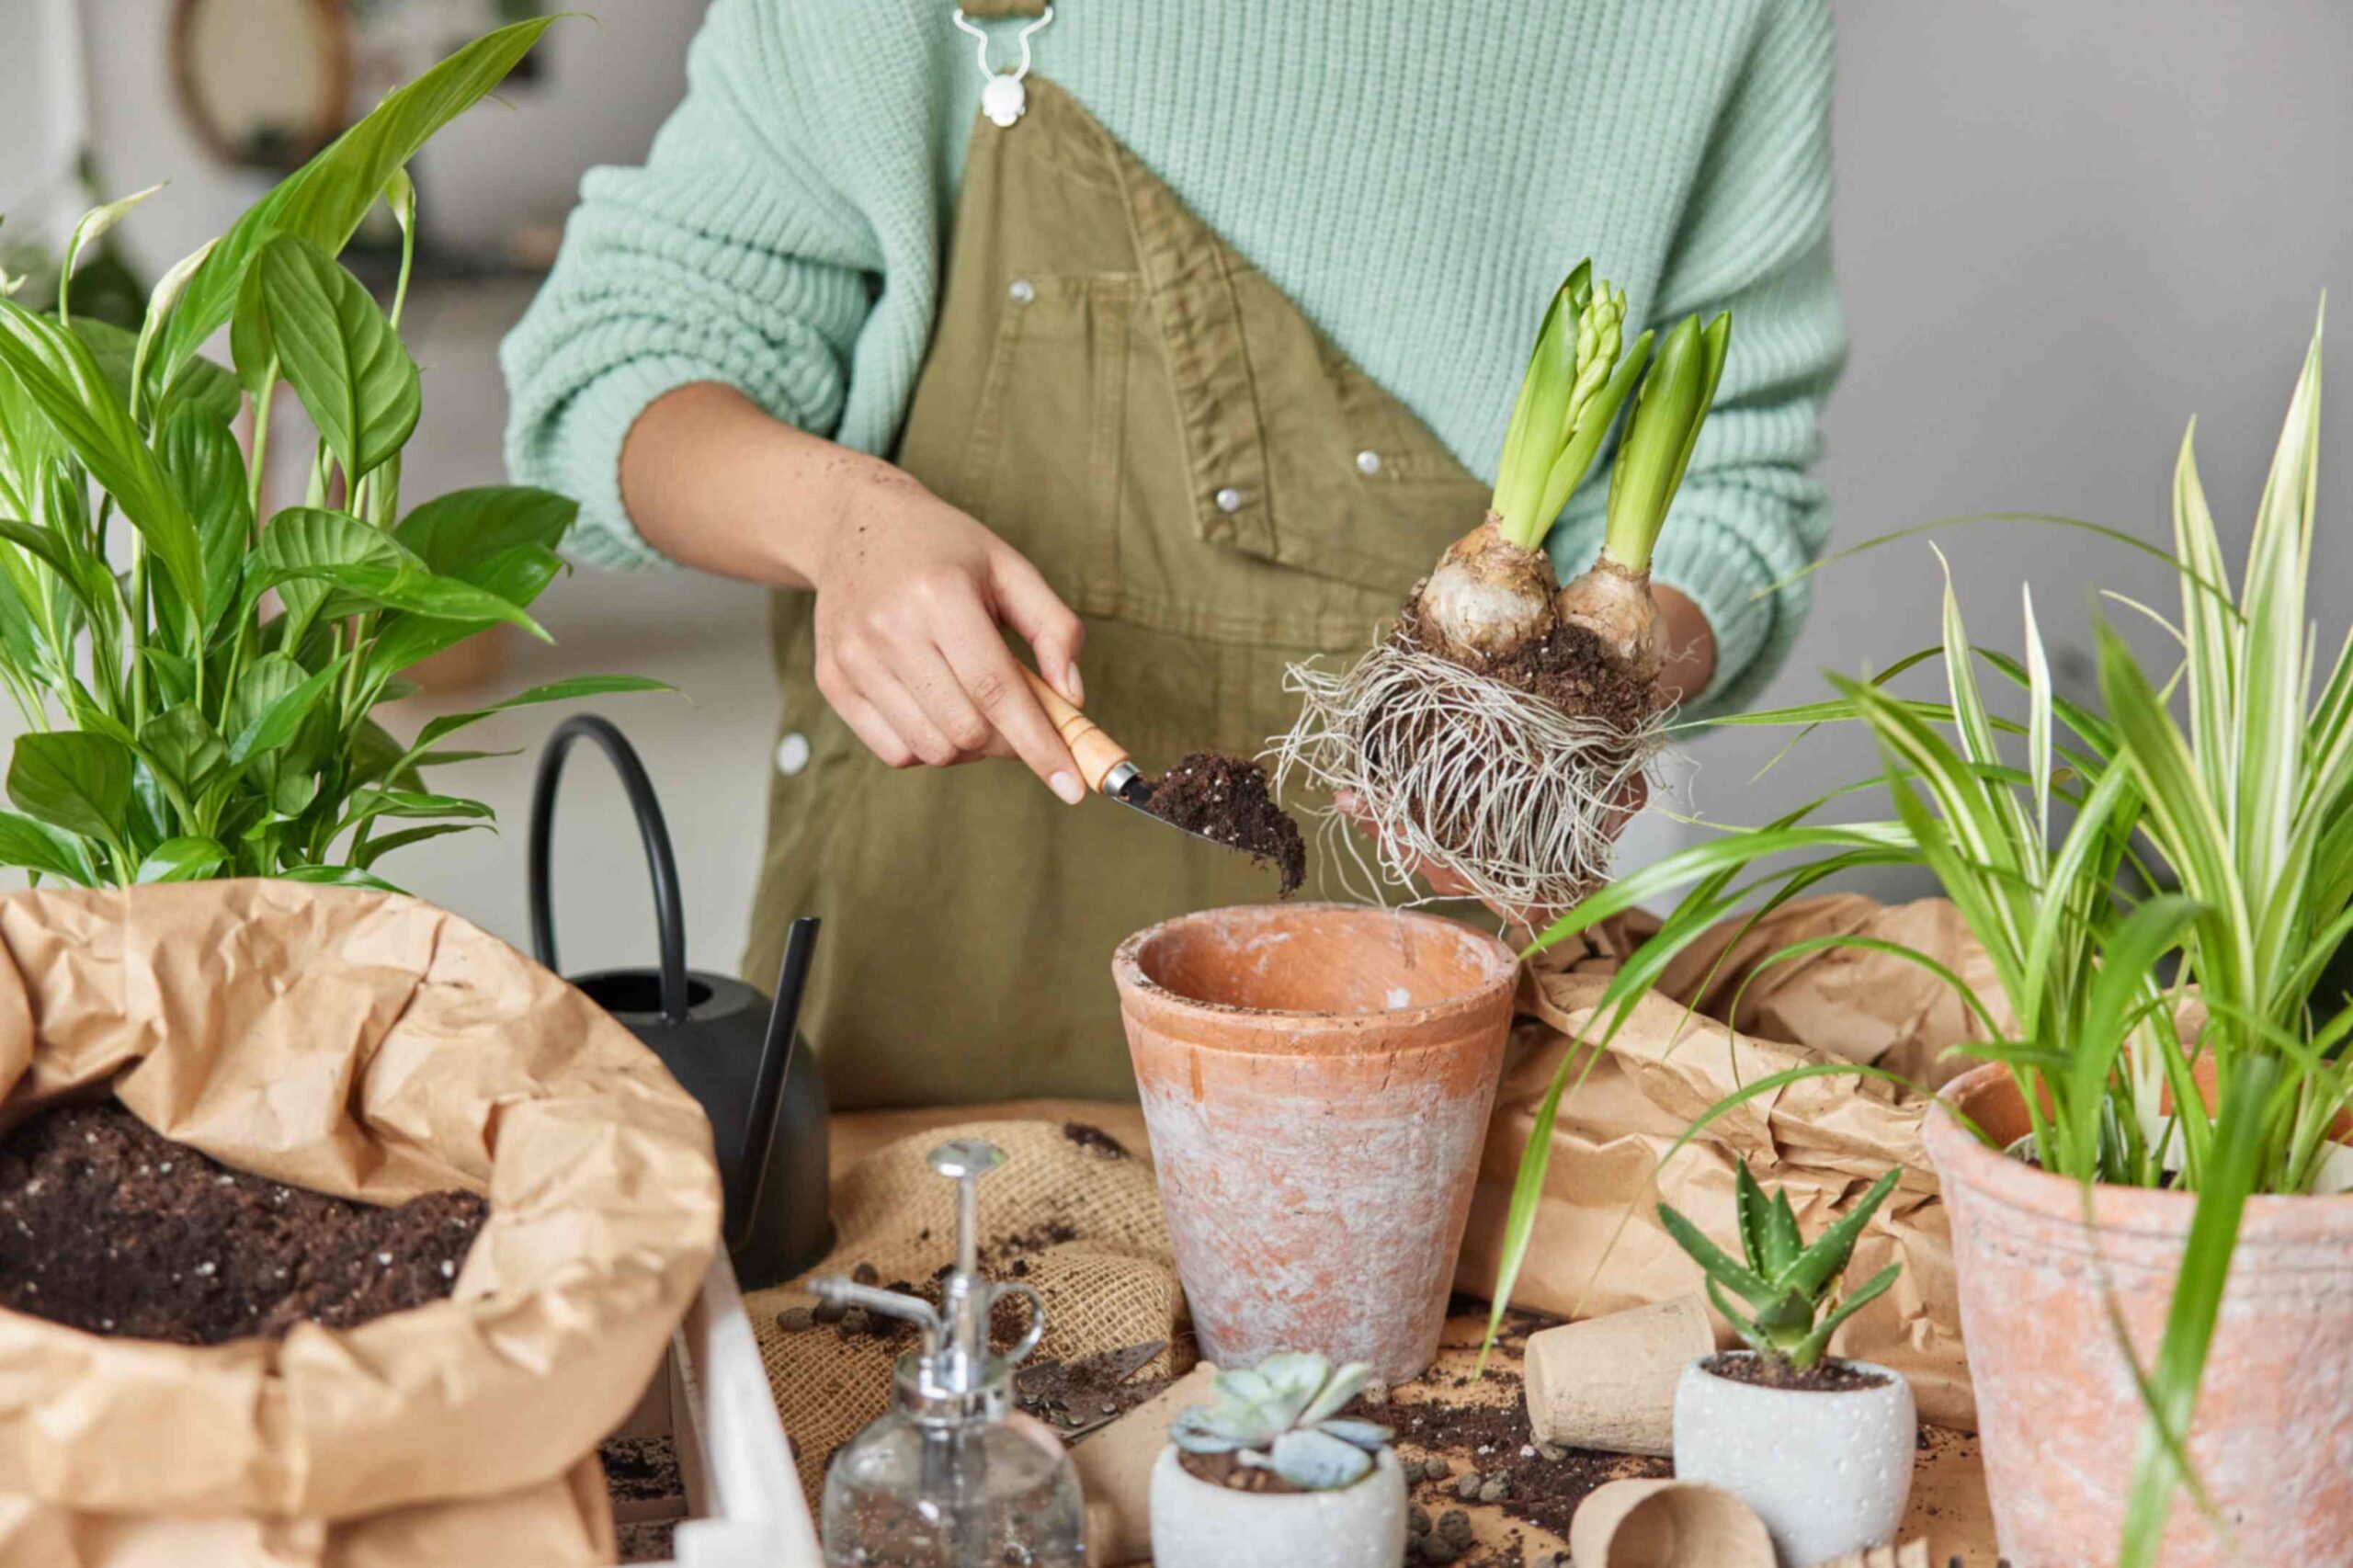
How To Repot Your Plant

This is something we are quite used to hearing, and ironically, our staff know the circle of plant death all too well. That’s why we’ve compiled some knowledge from our expert maintenance team to provide you with the essential skills when it comes to repotting your beloved green companions.
Whether it be that you’re a seasoned plant parent or just starting your journey into the world of indoor gardening, mastering the art of repotting will ensure your plants continue to flourish and bring joy to your space.
In this blog:
- Why Repotting Matters
- When To Repot
- Materials You’ll Need
- Step-by-step Guide to Repotting
- Tips For Success
___________________________________________________________
Why Repotting Matters:
Think of repotting as giving your plant a new lease on life. Over time, plants outgrow their containers, deplete the nutrients in the soil, and may even become root-bound (what is root-bound?), hindering their growth. Repotting allows your plants to stretch their roots, access fresh nutrients, and thrive in a spacious environment. It’s just like upgrading to a bigger home.
___________________________________________________________
When to Repot:
- So, have you noticed those sneaky roots poking out of the bottom of your plant’s pot? Yeah, they’re definitely getting adventurous!
- And hey, speaking of roots, they’re playing a game of push and pull with your plant, trying to pop it right out of its cosy home.
- Now, have you noticed your green buddy taking its sweet time to grow? And no, it’s not just the winter chill slowing it down.
- Oh, and let’s talk about balance – your plant is feeling a bit top-heavy, teetering on the edge of a graceful (or not-so-graceful) fall.
- Is it just us, or is that potting mix drying up way quicker than before? Looks like your plant’s thirsty these days.
- Have you seen the size of those leaves lately? They’re practically begging for more space than their current planter can offer.
- And if you’re seeing some crusty build-up of salt and minerals on your plant or pot, well, that’s a sign too.
- Last but not least, when was the last time you gave your plant a new home? If it’s been over a year, it might be time for a change of scenery.
If these seem familiar, then I think you’ve come to the right place. Typically, spring is an ideal time for repotting, as plants are entering their active growth phase.
___________________________________________________________
Materials You’ll Need:
Let’s talk about what you will need. However, if you don’t some of these tools, simply improvise – we’ll give you some suggestions.
- A larger pot with drainage holes: Ensure the new pot is only a few inches larger in diameter than the current one to prevent overpotting.
- Fresh potting mix: Opt for a well-draining mix suitable for your plant species.
- Trowel or garden scoop: Perfect for scooping and transferring soil. Haven’t got one? Use a spoon!
- Gloves: Protect your hands from dirt and potential plant irritants.
- Watering can: Prepare to give your plant a refreshing drink post-repotting. Haven’t got one? Simply use a glass, or hosepipe or even hold it under the tap!
___________________________________________________________
Step-by-Step Guide to Repotting:
- Prepare the New Pot: Fill the bottom of the new pot with a layer of fresh potting mix, ensuring there’s enough room for the plant’s roots and allowing space for settling.
- Gently Remove the Plant: Carefully loosen the plant from its current pot by pressing on the sides of the container or tapping it upside down. Support the plant’s base with your hand, and gently tease out the roots if they’re tightly bound.
- Inspect and Trim Roots (if Necessary): Check the roots for any signs of rot or damage. Trim away any brown or mushy roots with clean scissors or pruning shears to encourage healthy growth. Healthy roots will be white.
- Position the Plant: Place the plant in the centre of the new pot, ensuring it sits at the same depth as it did in the old pot. Add more potting mix around the sides, gently pressing it down to eliminate air pockets.
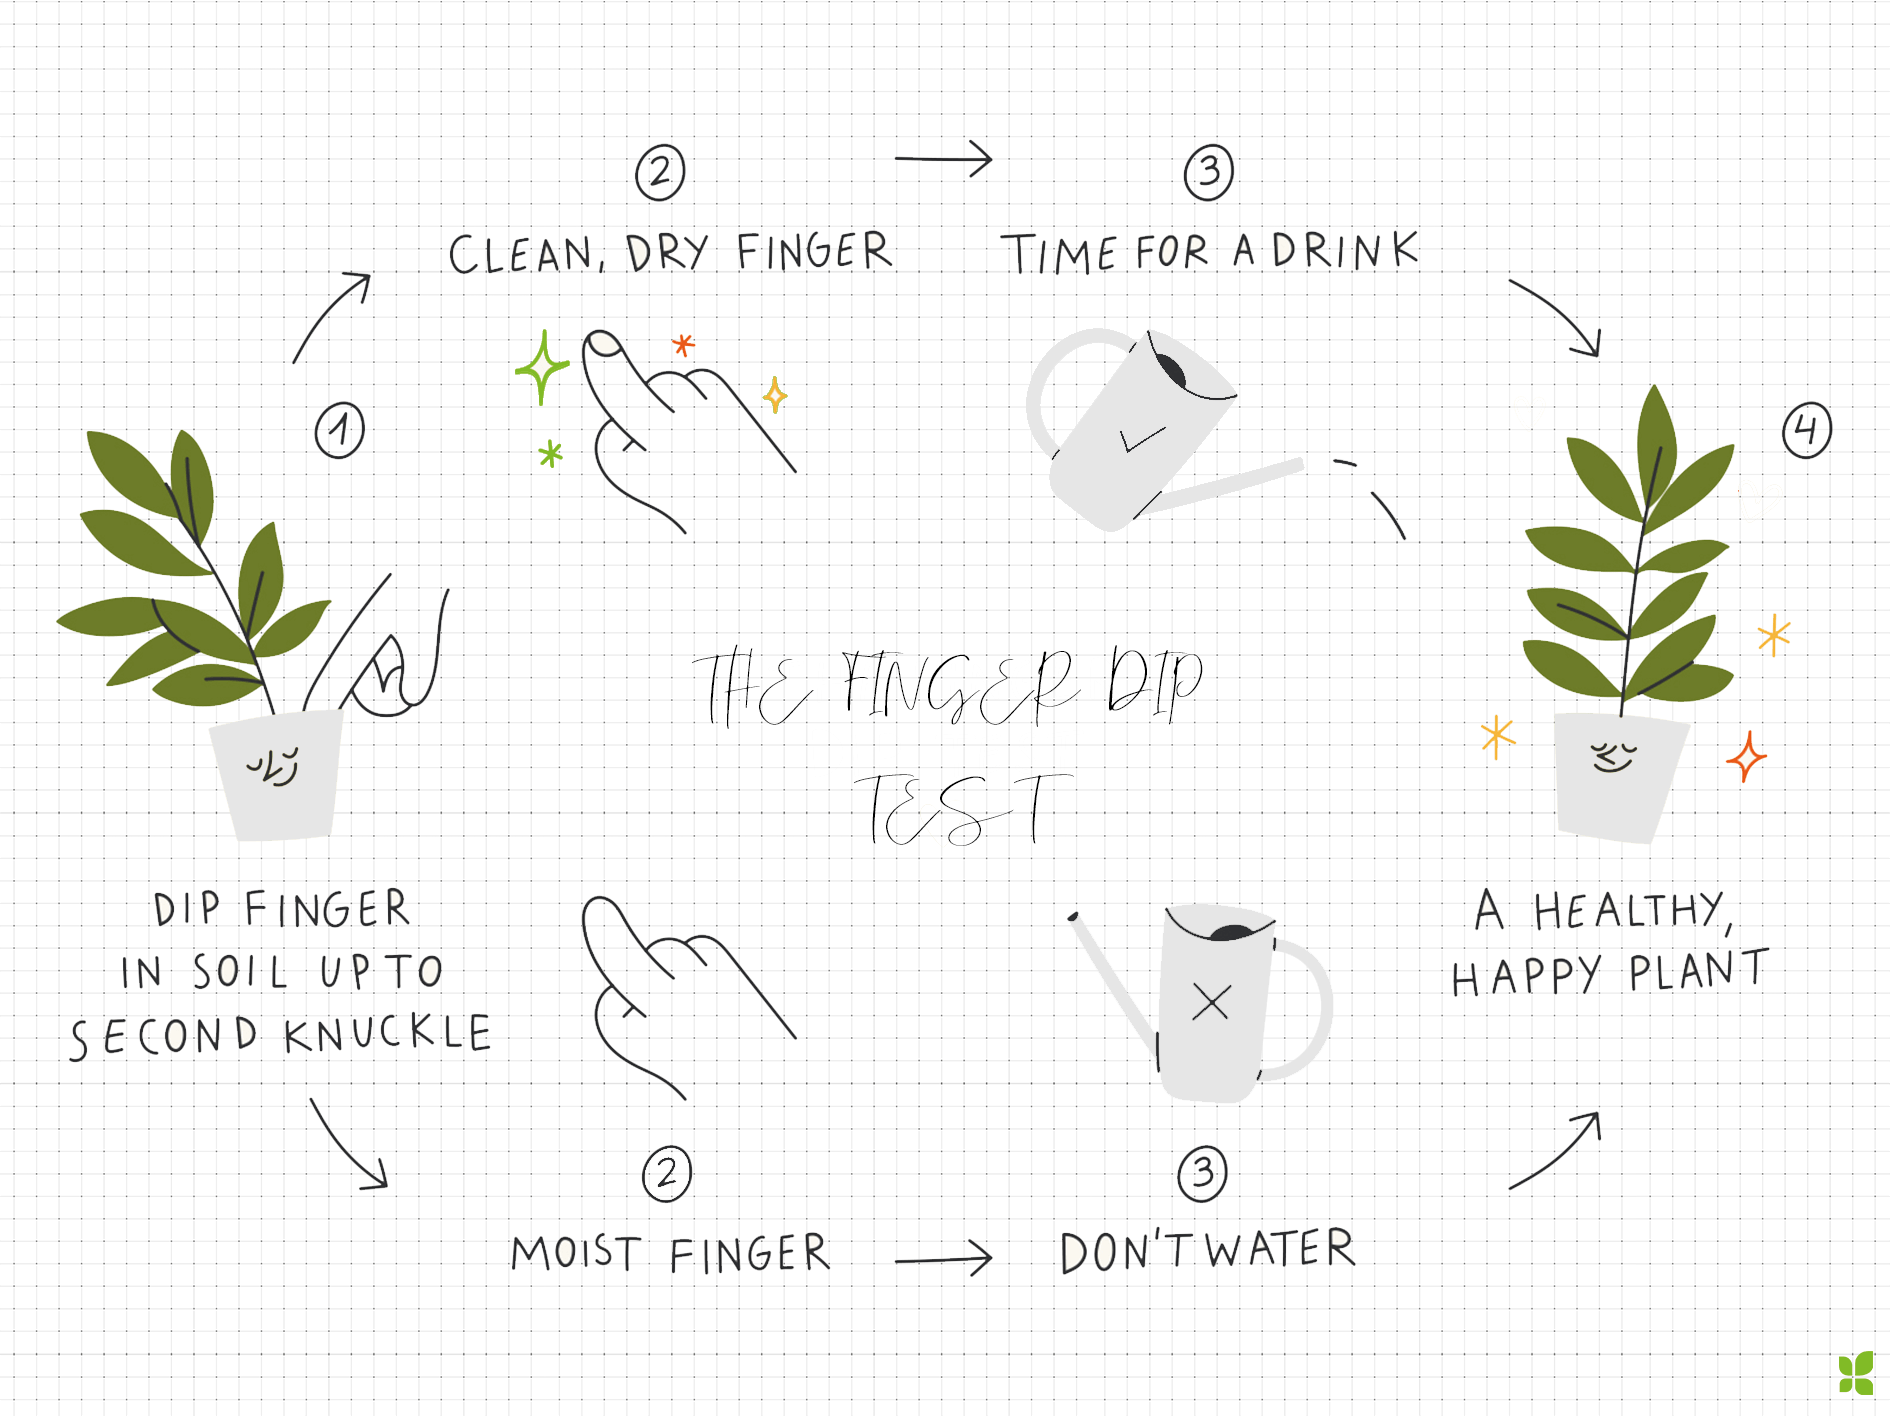
- Water and Settle: Give your freshly repotted plant a thorough watering to help settle the soil and hydrate the roots. Allow any excess water to drain away before returning the plant to its usual spot. Now, you need to keep up the watering. A good rule of thumb is the finger-dip test which is a good indicator of how thirsty your plant is:
___________________________________________________________
Tips for Success:
Choose the right pot size: A pot that’s too large can hold excess moisture, leading to root rot, while a pot that’s too small restricts growth.
Handle with care: Be gentle when handling your plants to avoid damaging delicate stems and leaves.
Monitor closely: Keep an eye on your repotted plants in the days following the process to make sure they adjust well to their new environment.
Keep up the plant care: Read our Ultimate Guide To Plant Care for our best tips.